Legally Binding E-Signatures
Printing an NDA, signing it with a pen, scanning it, and emailing it back is a massive friction point for closing deals or hiring employees. UniTrack's built-in E-Signature module replaces clunky external tools like DocuSign. This guide shows you how to securely issue binding contracts directly from your workspace — with support for signing orders, access codes, reminders, and full audit trails.
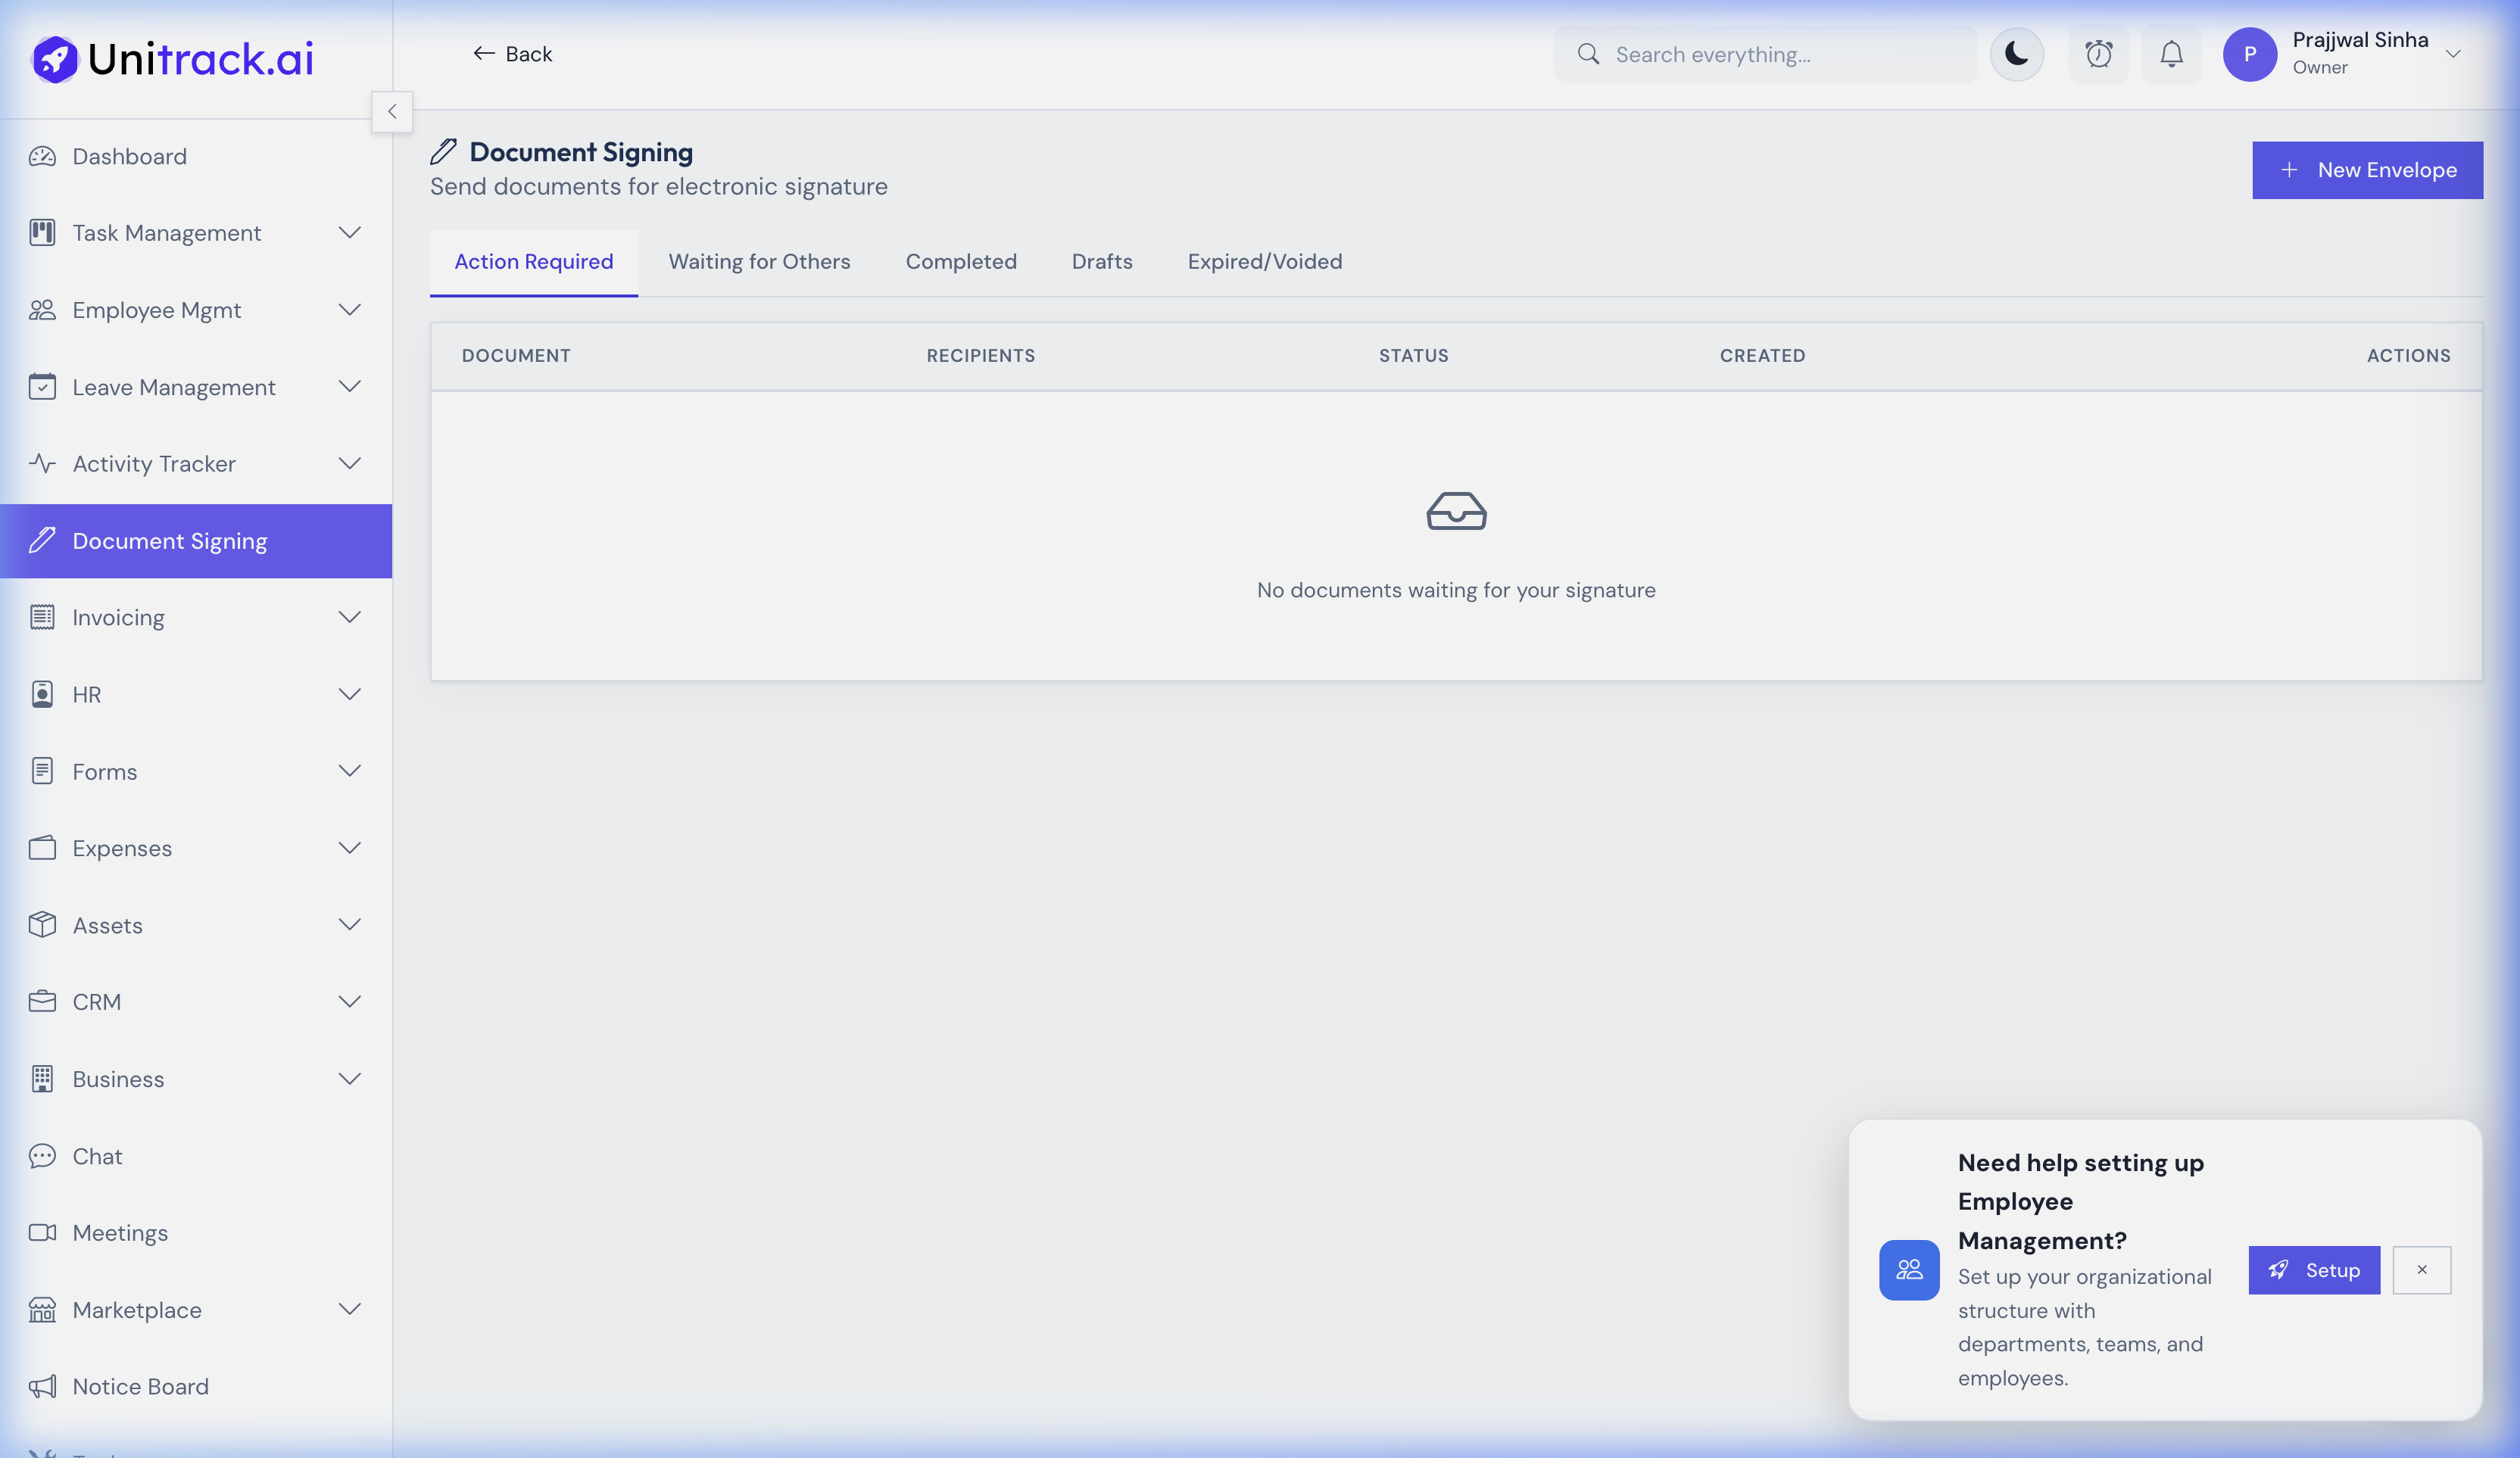
Manage all your envelopes, documents, and signing flows from one centralized dashboard.
1. Preparing a Document for Signature
You upload a PDF, UniTrack turns it into an interactive signing canvas.
- 1Create a New Envelope
Go to Document Signing in the sidebar and click + New Envelope. This creates an "Envelope" — the container for your documents and signers.
- 2Upload Your Contract
Drag and drop your unsigned PDF file (e.g., a "Letter Template" or external contract). You can upload multiple documents into a single envelope if needed.
2. Define Recipients & Signing Order
Control who receives the document, who signs, and in what sequence.
- 1Add Recipients & Assign Roles
Click Next to go to the Recipients step. Add each recipient with their name and email address. Each recipient is assigned one of four roles:
• Signer: Must fill out and sign all assigned fields.
• Approver: Reviews the document and can approve or decline it.
• CC (Carbon Copy): Receives a copy of the completed documents but takes no action.
• Viewer: Can view the document, but no signature or approval is required. - 2Access Code & Security
For extra security, you can set an Access Code for the envelope. The signer must enter this code before they can view and sign the document.
3. Placing Signature Fields
Tell each signer exactly where to put their pen.
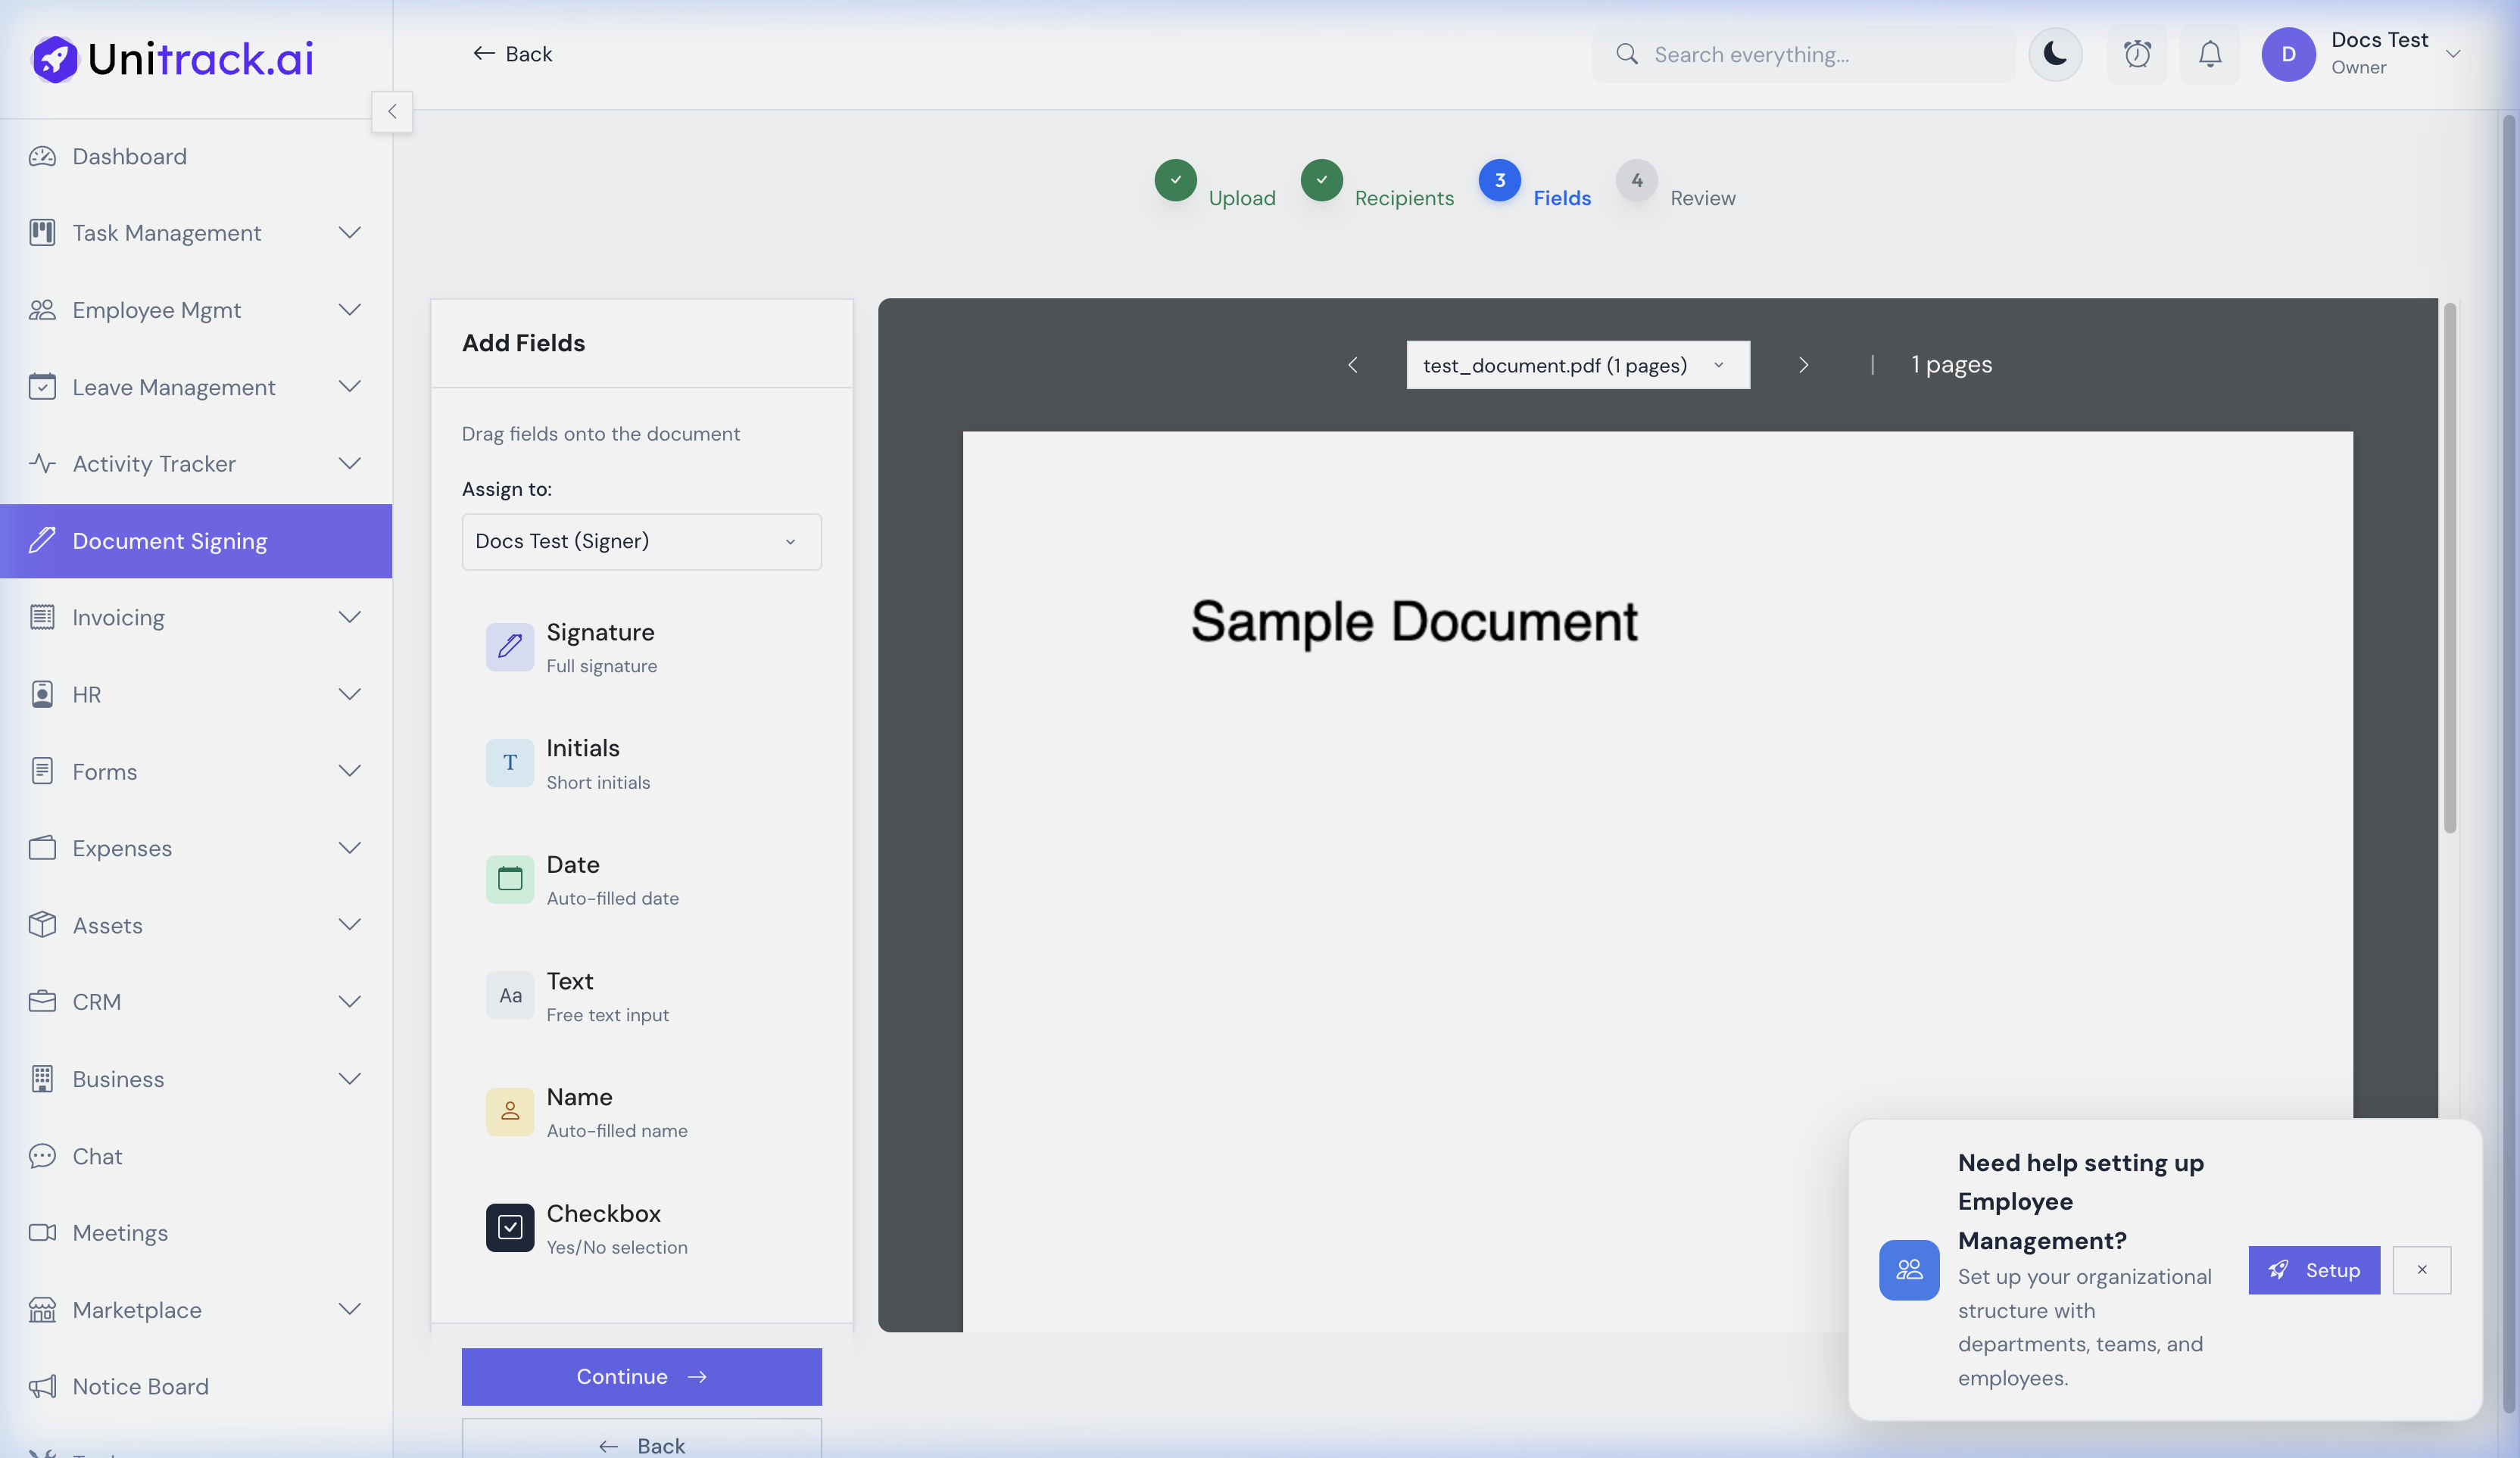
Drag and drop fields onto the document to capture text, dates, initials, and signatures.
- 1Use the Drag-and-Drop Canvas
The PDF loads in the field editor. Select a signer from the left panel. Drag field types onto the PDF.
- 2Assign Fields to Signers
UniTrack supports multiple field types: Signature, Initials, Date, Name, Text, and Checkbox.
Each signer's fields are color-coded so you can visually distinguish who needs to fill what. Fields can be marked as Required or optional. - 3Review Before Sending
The Review step shows you a summary of the envelope. Verify everything is correct before dispatching.
4. Sending & Signing
Automating the signing workflow securely.

The signers receive a frictionless link to review and sign the document without creating an account.
- 1The Signer Experience
The signer clicks the link in their email. They do NOT need a UniTrack account. They view the PDF in their browser, click their signature field, and choose to Draw, Type, or Upload their signature. Once all required fields are completed, they submit.
- 2Decline Option
A signer can choose to Decline signing the document, providing a reason. The envelope sender is immediately notified.
5. Managing & Compliance
- 1Envelope Dashboard
Navigate to Document Signing to track envelopes across Draft, Sent, Completed, Voided, Expired statuses.
- 2Completion Certificate & Audit Trail
Once all parties have signed, everyone receives the final countersigned PDF. UniTrack automatically generates a Completion Certificate containing precise metadata, signer details with timestamps, IP addresses, and a complete, tamper-proof audit trail.